Riyas P.K-Fab Academy 2016
3D Scanning and Printing
The assignment for this week is to Test the limits for your 3D-printer (group project), Design and 3D print an small object that could not be made subtractively and to 3D scan an object. If possible, we could also print the object we scanned and maybe even make our own scanner.
Testing limits of 3D-printer
We have Ultimaker 2 and Dimension 1200es in our lab, we selected Ultimaker 2 to test it limits.

In order to test it we looked for test projects on Thingiverse and selected a design which seemed complex enough.
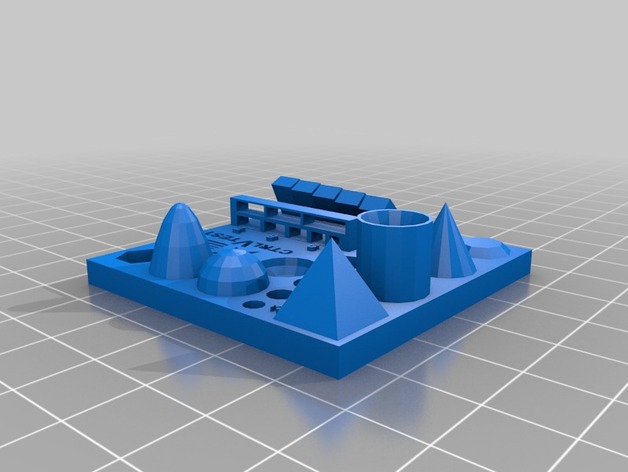
Then the STL file is opened in Cura, the software of Ultimaker.
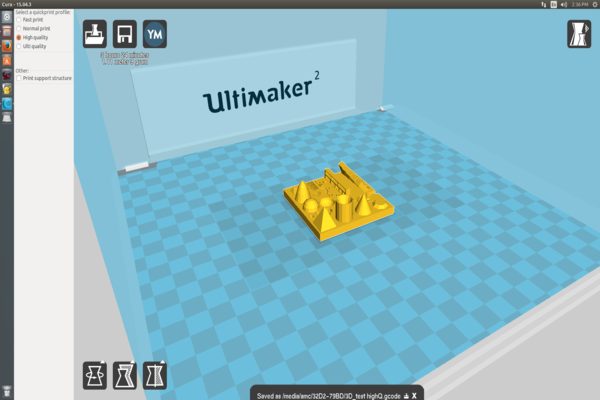
The print took about 1 hr to complete. Here is the finished product:

Here is how Ultimaker performed on all the tests:
|
|
Designing and printing a 3D object
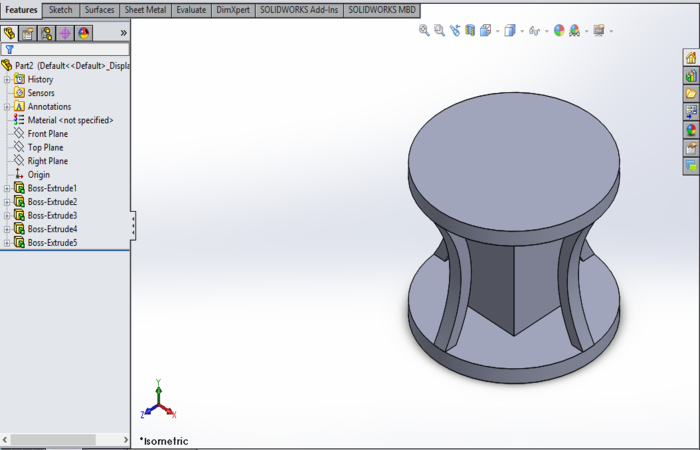
- I used Solidworks to create a simple and small structure.A small extruded rectangle in between two circles and also they are connected by four curves.The idea behind the design is that it can't be made substractively which was the requirement of the assignment.
- I then exported the design as an STL file. I opened the file in Cura, the software for our 3D printer(Ultimaker 2).Ultimaker uses PLA.I used Cura to orient the part for optimal printing and then created the path.If there is a prolem with your STL file, this is when Cura ussually warns of reverse normals etc. It was able to generate a path for my part without any problems.
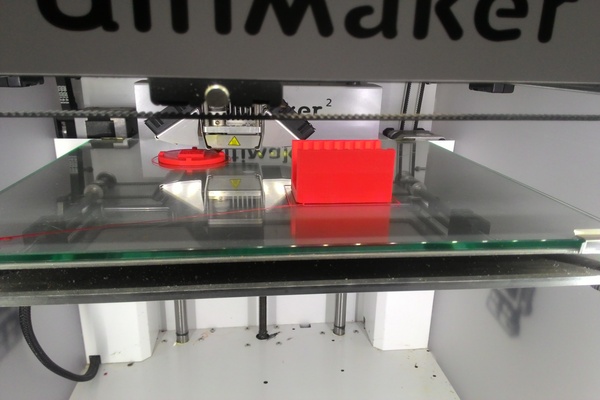
- I added the part to the "pack" to show the software where in the machine I wanted to print the part.After printer startup I cleaned up the nozzle, checked to make sure I had enough material for the job, and pressed the print button.
- When the part is done printing you need to pry it off of the build plate.The printed out object was not perfect,the bottom of top circle was not in a good shape.This is a drawback of the 3D printer.Also the curves had rough edges.


You can download the original files here : Solidworks .stl file.
3D Scanning with Kinect
Since we had no dedicated 3D scanner in our lab,I decided to use the xbox 360 kinect as 3D scanner.To connect kinect to PC we need usb adapter.Then we need to download and installl kinect sdk for windows.For software I used windows version of KScan3D.
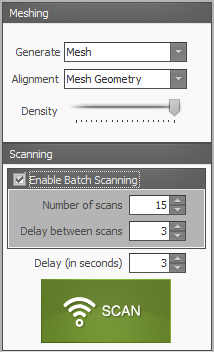
I decided to scan my self.So the kinect is placed on a fixed surface infront of me and I sat down on a stool and rotate my self 360 degree.(If you have a rotating platform you can use it.).Before doing so,you have to enable batch scanning in KScan3D.Set No.of scans(15) and delay between scan(3) according to your preference.
After scanning select mesh editor tab.In mesh editor select all the scans and press smooth,combine and finalize respectively.Then you can export it as .stl file.

You can download the .stl file here.(Caution:25 mb)